Moving Checklist: How to Protect, Pack, and Restore Wooden Furniture
Learn how to protect, pack, and restore wooden furniture during a move, from pre-move inspection and wrapping techniques to scratch repair and professional restoration.
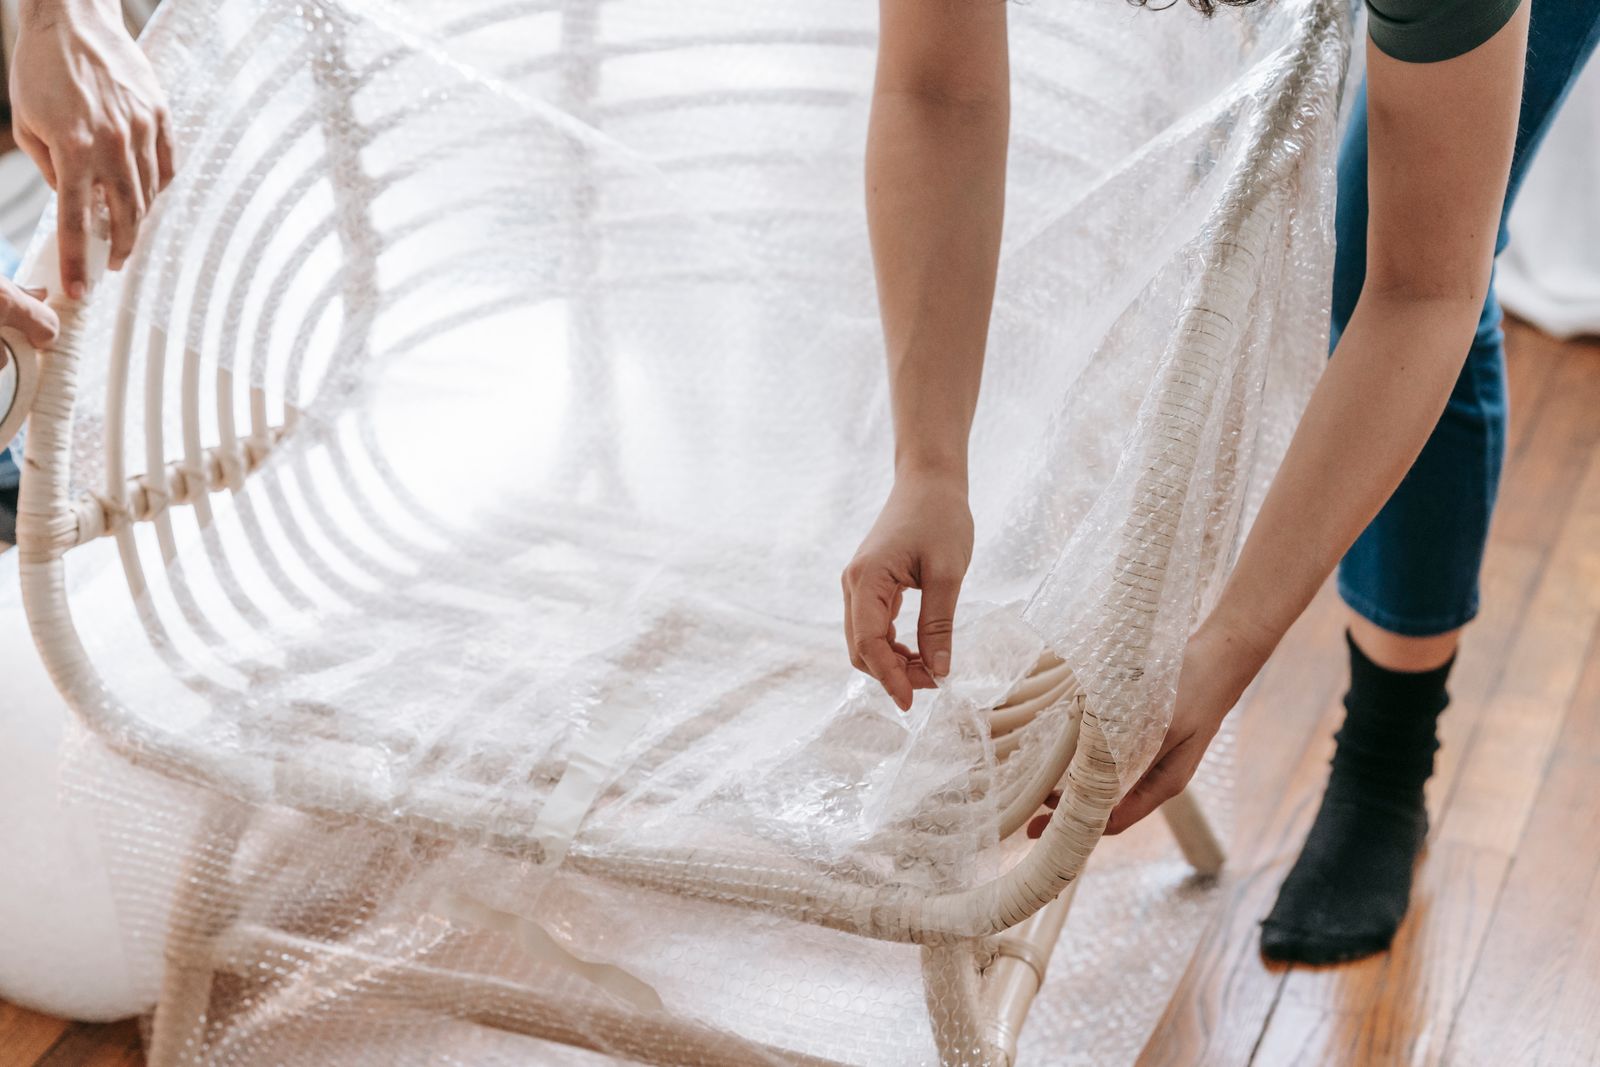
Wooden furniture is often the most valuable and sentimental part of a move. A dining table passed down through generations, a solid oak dresser you saved up for, or a hand-carved nightstand from a specialty shop—these pieces deserve more than a casual wrap-and-load approach.
Moving day puts wooden furniture at risk of scratches, dents, joint loosening, and even structural damage. But with the right preparation, you can get everything to your new home in the same condition it left.
This guide covers the complete moving checklist for wooden furniture: how to inspect it before the move, how to pack and wrap each piece, and what to do if something gets damaged in transit. If you are coordinating a large household move in the Boise area, Idaho Premier Moving offers professional packing and furniture protection services.
Pre-Move Inspection: Assessing Your Wooden Furniture Before Packing
Before you wrap a single piece, take time to inspect your wooden furniture. A pre-move assessment helps you spot existing damage, identify weak joints, and decide which pieces need extra care.
What to look for:
- Loose joints, wobbling legs, or wobbly stretchers
- Existing scratches, chips, or finish wear—document these with photos
- Drawers that stick or slide unevenly
- Hardware that is loose or missing screws
- Veneer that is lifting or bubbling
- Any signs of wood rot, termites, or water damage
Take photos of each piece from multiple angles, including close-ups of any existing damage. This documentation is critical if you need to file a claim with your moving company later.
| Piece | Inspection Points | Photo Needed? |
|---|---|---|
| Dining table | Leg joints, leaves, extension mechanism | Yes |
| Dresser | Drawer slides, back panels, feet | Yes |
| Bed frame | Headboard connections, slats | Yes |
| Desk | Drawers, keyboard tray, legs | Yes |
| Cabinets/bookshelves | Shelves, back panels, crown molding | Yes |
Protip: Tighten any loose screws or hardware before the move. Loose joints are more likely to fail under the vibration and shifting that happens during transport.
Essential Supplies for Protecting Wooden Furniture
You cannot protect wooden furniture with standard box-packing supplies alone. Wood needs cushioning, breathability, and structural support that typical cardboard cannot provide.
What you need:
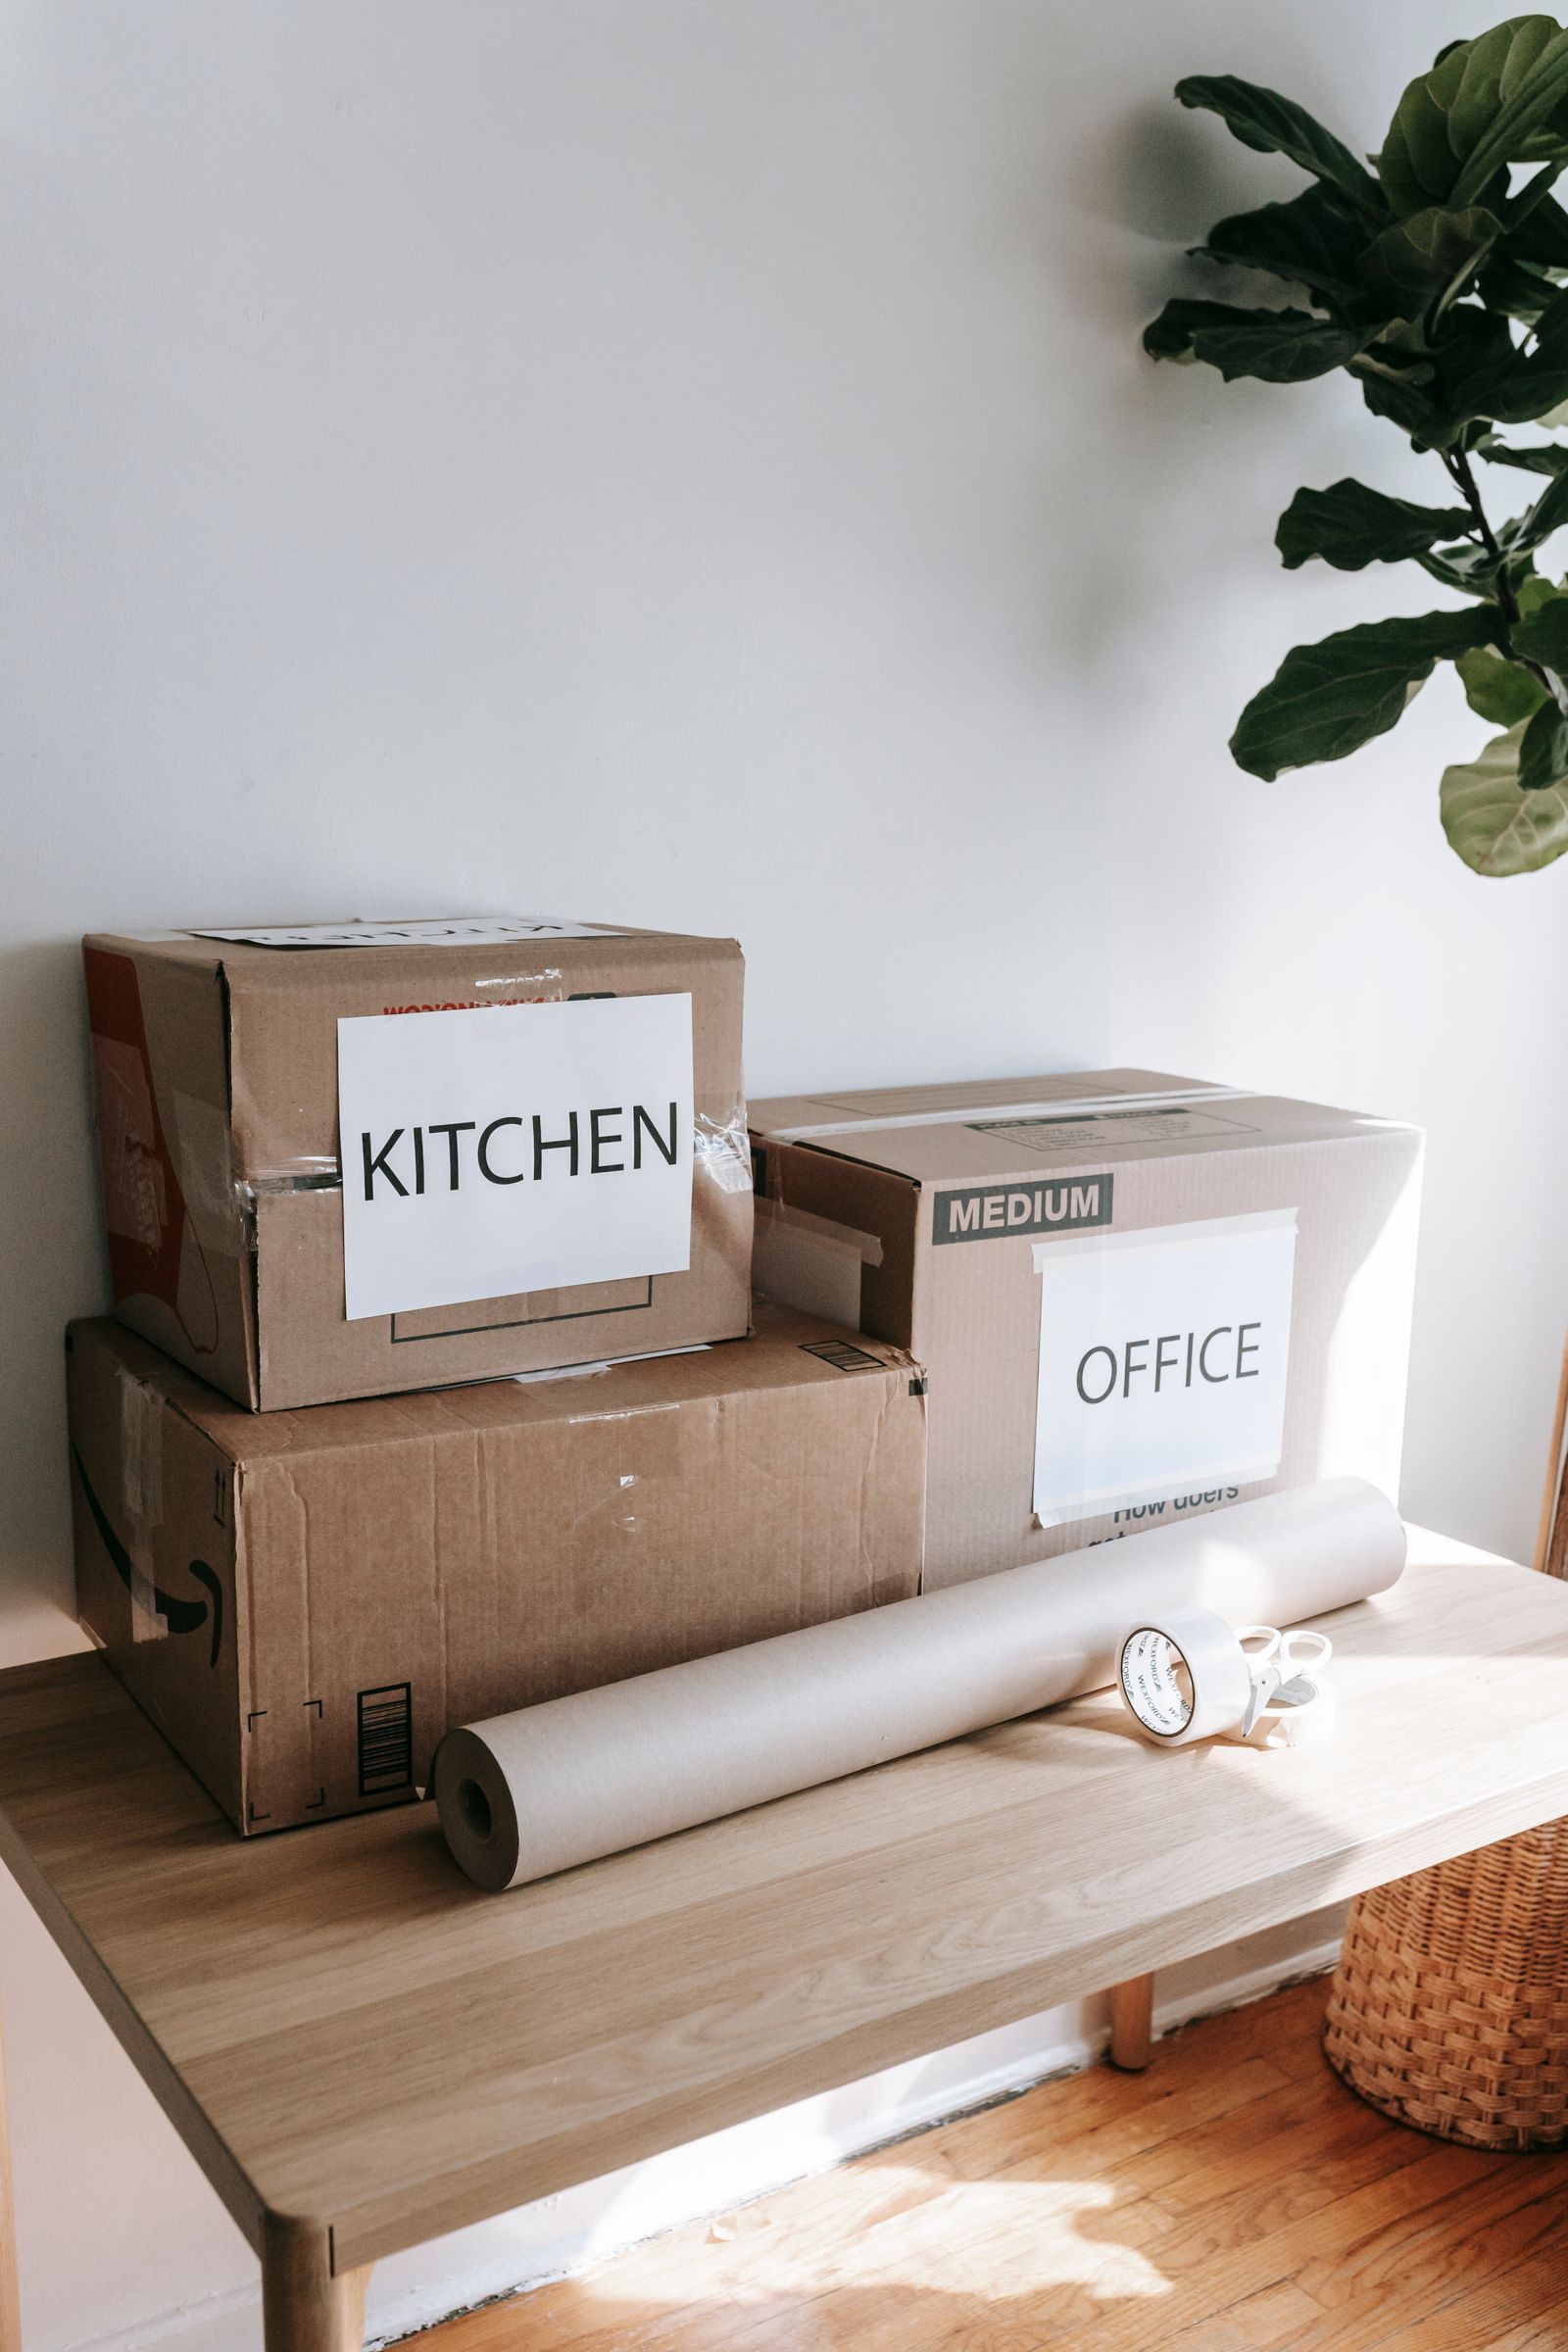
- Moving blankets (furniture pads): The single most important supply. Rent or buy padded moving blankets designed specifically for furniture protection.
- Stretch wrap (plastic wrap): Holds blankets in place and protects against dust and moisture. Use it over blankets, not directly on wood.
- Cardboard corner protectors: Shield the most vulnerable parts of furniture.
- Bubble wrap: For delicate surfaces, but always use a padding layer between bubble wrap and finished wood.
- Furniture sliders: Make it easier to move heavy pieces across floors without scratching.
- Zip-close bags: For storing hardware, screws, and small parts during disassembly.
- Soft tie-down straps: For securing furniture inside the moving truck.
What to avoid:
- Do not use tape directly on wood surfaces—the adhesive can pull off finish.
- Avoid newspaper against unfinished or light-colored wood—ink can transfer.
- Skip thin plastic sheets as a primary cover—they tear too easily and do not absorb impact.
How to Wrap and Pad Wooden Furniture for Transit
Proper wrapping is the difference between furniture that arrives pristine and furniture that arrives with a new collection of scratches. The technique matters more than the quantity of materials.
Step 1: Clean and Prepare the Surface
Wipe down each piece with a soft dry cloth to remove dust and grit. Any particles left on the surface can act like sandpaper when the padding shifts during transit. For finished wood, a light application of furniture polish can provide a protective barrier—but let it dry completely before wrapping.
Step 2: Pad the Most Vulnerable Areas
Corners, edges, feet, and protruding carvings are most likely to get damaged. Apply extra padding to these areas first.
Padding priority map:
- Corners and edges — Use cardboard corner protectors
- Feet and base — Wrap with extra blanket layers
- Carved or raised details — Pad individually with bubble wrap (over a soft layer)
- Glass or mirrored inserts — Mark clearly and treat as fragile items
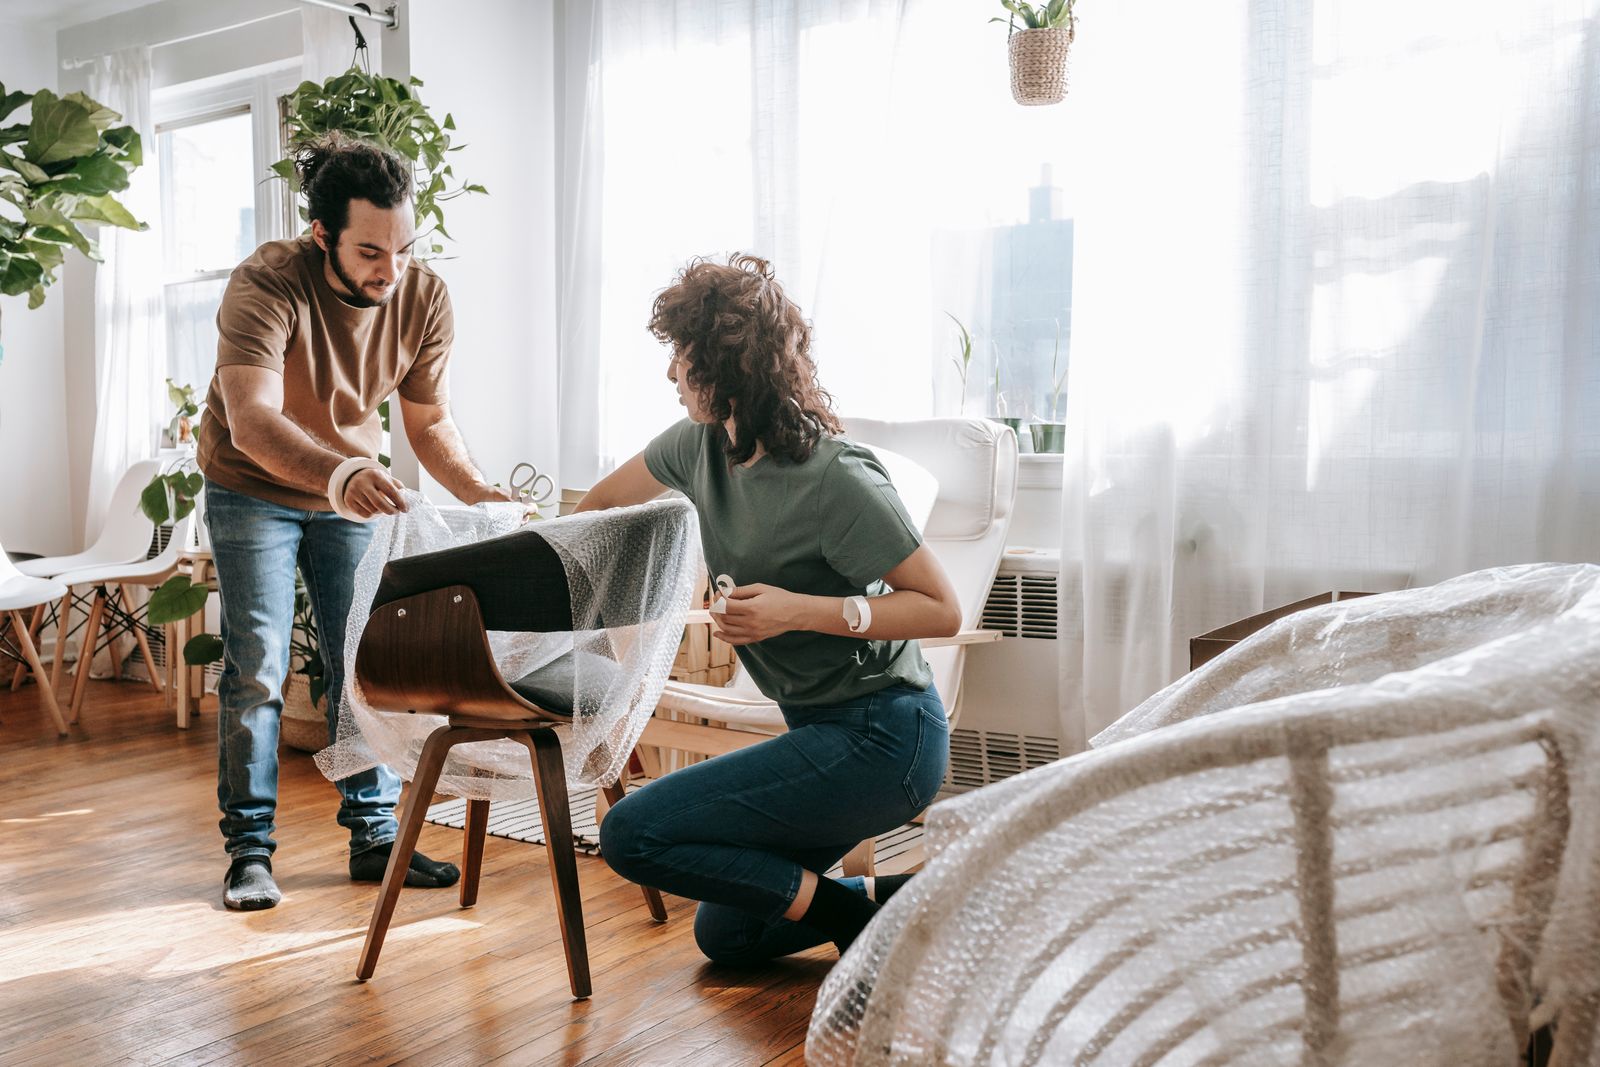
Step 3: Apply Moving Blankets
Drape moving blankets over the entire piece, ensuring full coverage. For tall pieces like armoires and bookshelves, wrap the blanket around the body and secure it with stretch wrap—do not use tape. Pull the stretch wrap snug but not tight enough to compress the padding against the wood surface.
Step 4: Protect the Finish from Moisture
Stretch wrap is not breathable, which is both good and bad. It keeps moisture out during transport but can trap condensation against the wood if applied directly. Always use a moving blanket or packing paper as the first layer, then wrap with stretch wrap on the outside.
Disassembling Large Wooden Pieces for Safer Transport
Disassembly reduces the size, weight, and risk profile of large wooden furniture. Movers almost always recommend taking pieces apart when possible.
What to disassemble:
- Tables: Remove legs and detachable leaves. Wrap legs individually and bundle them together.
- Bed frames: Remove headboard, footboard, and side rails. Keep bolts and brackets in labeled bags.
- Dressers and chests: Remove all drawers. Wrap each drawer separately and tape them shut after wrapping.
- Bookshelves and cabinets: Remove shelves, doors, and hardware. Tape loose doors shut after removing shelves.
- Desks: Remove legs, keyboard trays, and any detachable hutch components.
Hardware management system:
- Remove all screws, bolts, and brackets from each piece
- Place hardware in a zip-close bag
- Label the bag with the piece name and a photo of how it connects
- Tape the bag to the inside of a drawer or the underside of the piece
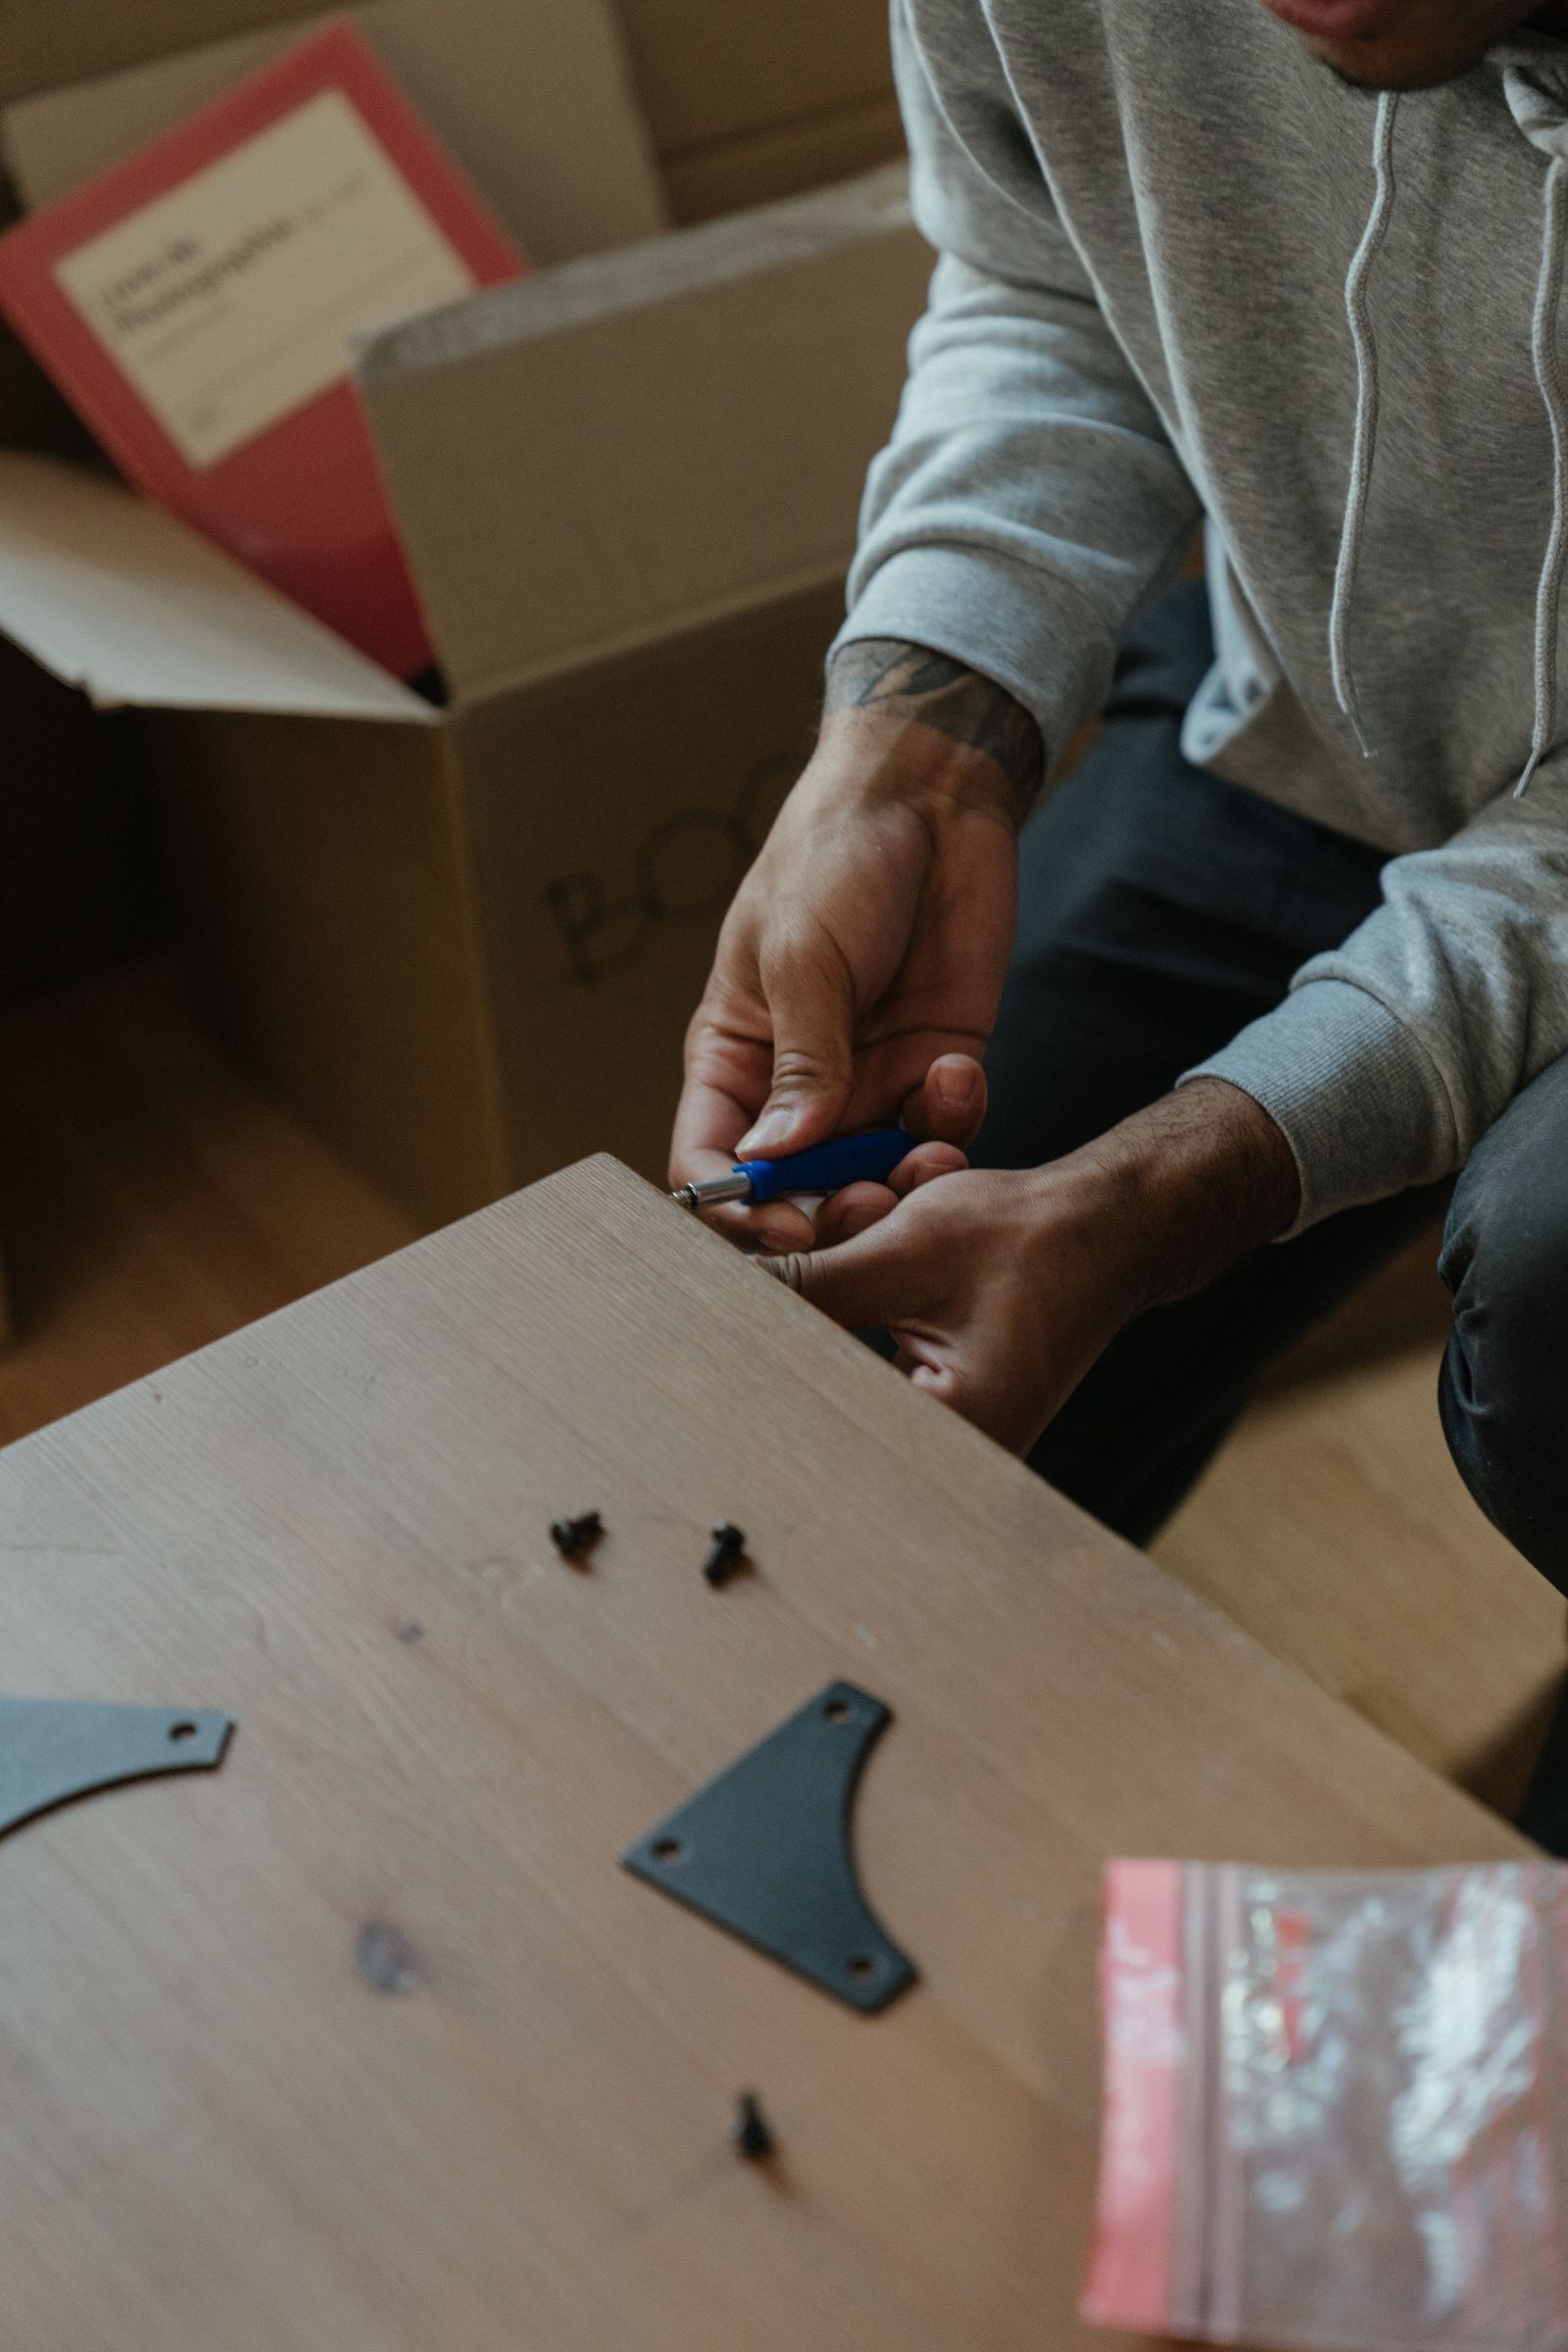
This system ensures you know exactly which hardware belongs to which piece when it is time to reassemble in your new home.
Loading and Positioning: Where Wooden Furniture Goes on the Truck
How you position wooden furniture inside the moving truck matters as much as how you packed it. Poor loading can undo hours of careful wrapping.
Loading rules for wooden furniture:
- Heaviest pieces go first. Solid wood tables, armoires, and dressers belong near the front of the truck (the cab end), where the ride is smoothest.
- Keep pieces upright. Never lay a dresser or cabinet on its side unless the manufacturer explicitly designed it for horizontal transport. Lying furniture on its side can shift internal components and damage drawer mechanisms.
- Leave breathing room. Do not wedge items so tightly that padding compresses to nothing. A little space allows blankets to do their job.
- Strap everything down. Use soft tie-down straps to secure each large piece to the truck wall—preferably on the reinforced E-track. Straps prevent shifting during braking, acceleration, and turns.
- No stacking on top. Never place heavy boxes or appliances on top of wooden furniture. Even with padding, the concentrated weight can cause cracks or warping.
Quick loading order:
| Order | Item Type | Why |
|---|---|---|
| 1 | Large appliances | Heaviest, go first |
| 2 | Solid wood furniture | Heavy, stable base |
| 3 | Boxes (heavy) | On top of solid base |
| 4 | Lighter furniture | On top of boxes or side-loaded |
| 5 | Boxes (light) | Fill gaps on top |
What to Do If Wooden Furniture Gets Damaged During a Move
Even with the best preparation, accidents happen. A strap slips, a box falls, or the truck hits a rough patch of road, and suddenly your antique dining table has a new scratch or dent. Knowing how to respond quickly can prevent minor damage from becoming permanent.
Step 1: Document the Damage Immediately
As soon as you unload and notice damage, take photos from multiple angles with something for scale (a coin or ruler works well). Note the date, time, and the piece’s location in the truck. This documentation is essential for any insurance claim with your moving company.
Step 2: Assess the Type of Damage
Different types of damage require different responses:
- Surface scratches — Often fixable at home with the right products
- Dents and gouges — May need wood filler and refinishing
- Cracked or split wood — Requires structural repair, often professional
- Broken joints or loose legs — Can usually be reglued and clamped
- Damaged veneer — Tricky to repair; often needs a specialist
For surface-level scratches, a furniture touch-up marker or wax stick in a matching color can conceal the damage effectively. Deeper gouges need wood filler, sanding, and refinishing of the affected area.
Step 3: Know When to Call a Professional
Not every repair is a DIY job. Antique furniture, heirloom pieces, and items with complex finishes or intricate carvings should be handled by a professional furniture restorer. Attempting a repair yourself on a valuable piece can reduce its worth and make professional restoration harder later.
If your wooden furniture has significant damage—especially structural cracks, broken legs, or damaged veneer that you don’t feel confident repairing—contact a professional promptly. For residents and movers in Australia, furniture repair Brisbane services can handle everything from minor scratch repair to full structural restoration of damaged wooden pieces.
Step 4: File a Claim with Your Mover
If you paid for full-value protection, your moving company is responsible for repair or replacement of damaged items. File the claim promptly—most movers have a deadline, often within 30 to 90 days of delivery. Include your photos, notes, and a description of the damage.
Restoring Wooden Furniture After the Move: Scratches, Dents, and Scuffs
Once everything is unloaded and you have documented any damage, it is time to restore your wooden furniture to its pre-move condition. Many minor issues are fixable with basic supplies.
Fixing Surface Scratches
Surface scratches that do not penetrate the wood grain are the easiest to repair.
Method 1: Touch-up markers or wax sticks Available at any hardware store. Choose a color that closely matches your furniture’s finish. Apply the marker or rub the wax stick into the scratch, then buff gently with a soft cloth.
Method 2: Walnut trick For very light scratches on dark wood, rub a raw walnut meat (the kernel, not the shell) over the scratch. The natural oils in the walnut can darken the scratch mark and make it blend in with the surrounding finish.
Method 3: Furniture polish Sometimes a scratch is just a compression mark in the finish rather than a break. Applying a high-quality furniture polish and buffing firmly can lift the compressed fibers and reduce the scratch’s appearance.
Dealing with Dents
Dents compress the wood fibers without breaking them. For minor dents on solid wood (not veneer), you can try the steam method:
- Place a damp cloth over the dent
- Apply a warm iron on top of the cloth for 10-15 seconds
- The steam swells the compressed wood fibers back to their original shape
- Repeat if needed, letting the wood dry between attempts
This method works on solid wood only. Do not use it on veneer—the steam can loosen the veneer adhesive and cause bubbling.
Repairing Scuffed or Worn Edges
Edges and corners often get scuffed during loading and unloading. A scuffed edge can be touched up with a stain marker or a thin application of matching wood stain. For deeper scuffs, sand the area lightly with fine-grit sandpaper (220 grit or higher), restain, and reseal with furniture wax or polyurethane.

When to Refinish vs. When to Leave It Alone
Not every mark needs full refinishing. Small scuffs and light scratches add character to many wood pieces. Refinishing a large surface just to fix a 1-inch scratch is often more invasive than the scratch itself. Reserve full refinishing for when the damage is widespread, deep, or affecting the structural integrity of the piece.
Final Moving Checklist for Wooden Furniture
Print this checklist and use it as your guide from packing day through unpacking.
Before moving day:
- Inspect each piece and photograph existing damage
- Tighten loose screws and hardware
- Gather all supplies: moving blankets, stretch wrap, corner protectors, bubble wrap, sliders, straps, zip bags
- Disassemble removable parts and label hardware
- Remove and wrap drawers individually
- Clean surfaces so no grit remains under padding
On moving day:
- Wrap each piece with a moving blanket as the first layer
- Add corner protectors to vulnerable edges
- Secure padding with stretch wrap—no tape on wood
- Load heaviest pieces first near the cab
- Keep all furniture upright
- Strap each large piece to the truck wall
After moving day:
- Unwrap carefully—do not cut toward the wood surface
- Inspect each piece against your pre-move photos
- Document any new damage immediately
- Repair minor scratches and scuffs at home
- Contact a professional for structural or valuable-piece damage
Following this checklist helps ensure your wooden furniture arrives safe, sound, and ready to fill your new home. A little preparation on the front end beats a lot of repair work on the back end.
Frequently Asked Questions
How do I protect wooden furniture during a move?
What supplies do I need to pack wooden furniture for moving?
Should I disassemble wooden furniture before a move?
How do I fix scratches on wooden furniture after moving?
Can I wrap wooden furniture in bubble wrap directly?
Our team of moving experts creates practical, research-backed guides to help make your next move easier.
Related Articles
How to Prepare Important Documents Before a Move
Learn how to prepare important documents before a move, from sorting, digitizing, and backing up records to packing a personal document folder.

What to Keep With You on Moving Day Instead of Loading on the Truck
Learn what to keep with you on moving day instead of loading it on the truck, including documents, valuables, medications, and your first-night essentials.

How to Create a Moving Inventory for Your Moving Company
Learn how to create a moving inventory for your moving company, from room-by-room lists and photos to condition notes and labeled box tracking.